
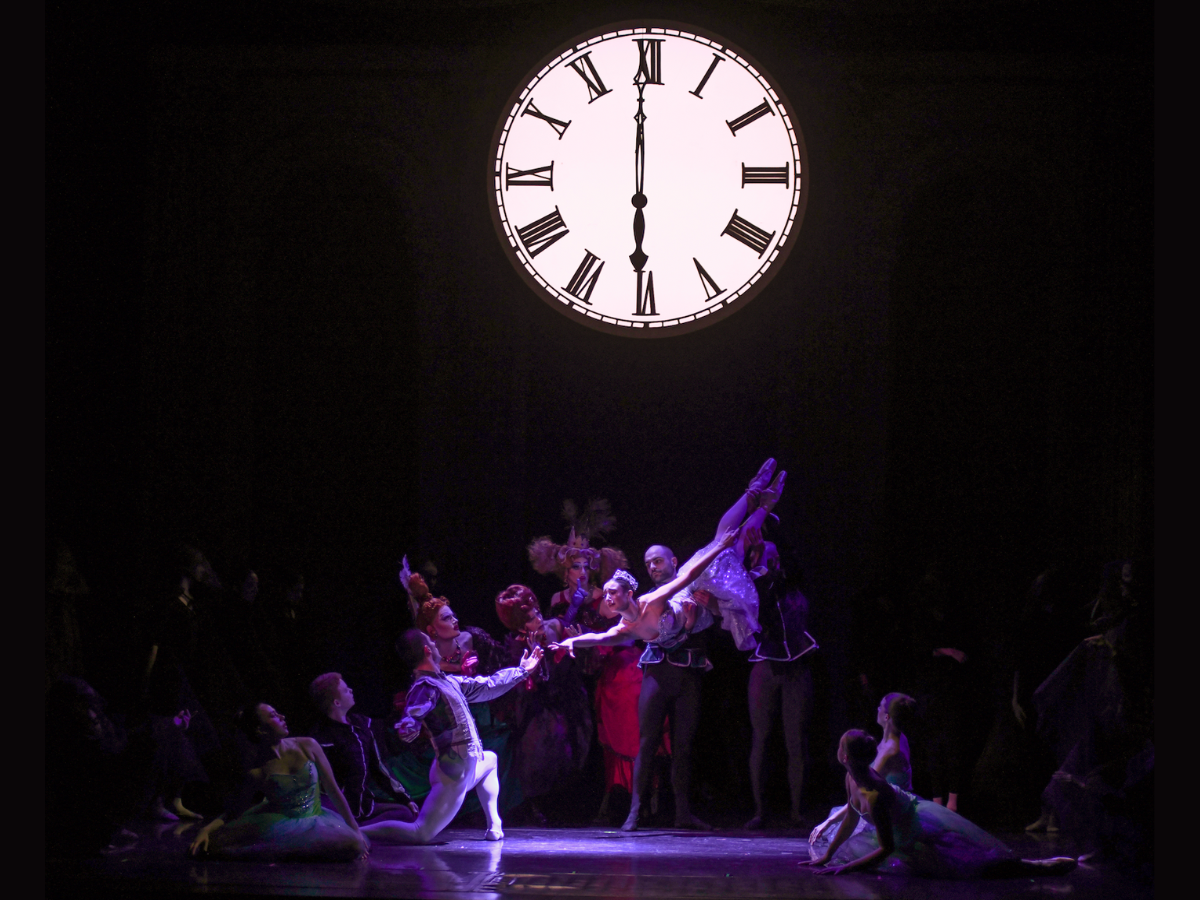
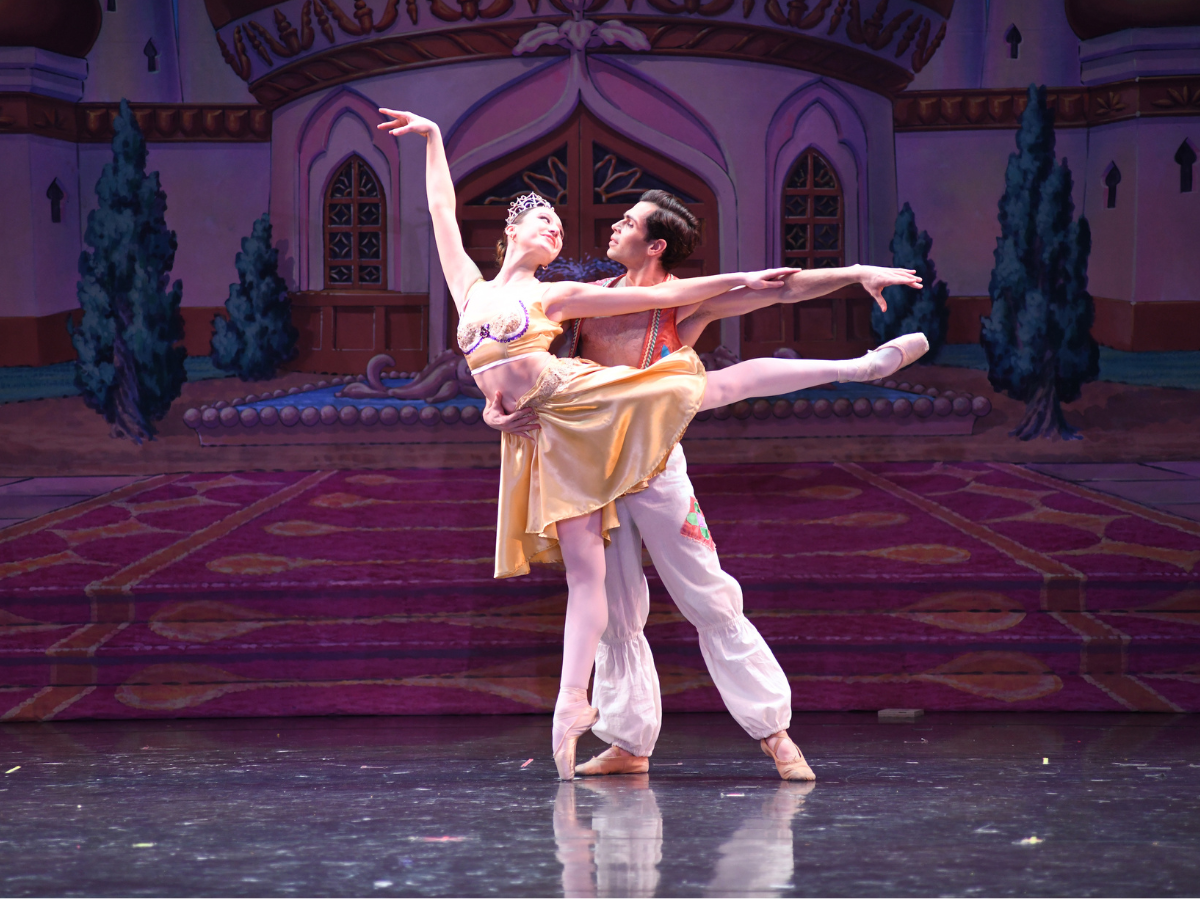
Special Edition:
SNOW WHITE
Pat Nurnberger, one of BTC's talented costume designers, has been hard at work creating a very special character's costume. In this special edition of BTC's
Through the Tulle, see the step-by-step process into the making of this new costume fit for a princess.
The Research
Pat spent about two days reaching and planning her design for Snow White's costume. She started with studying the iconic image of the princess as seen in Disney's animated and live action movies.
Stephanie Dattellas, BTC's Artistic Director and choreographer of
Snow White, discussed her plans for the character with Nurnberger. Dattellas expressed that she didn't want to copy the cartoon version too closely as the ballet would be based off of the Grimm's Fairy Tale.
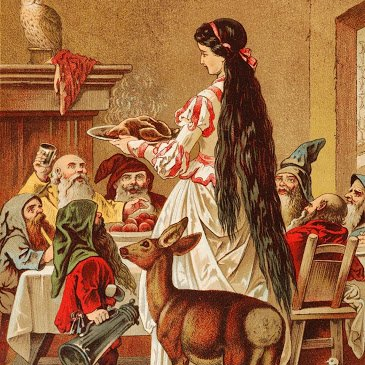
Nurnberger then started researching images of famous illustrations from children's books, all which were published around the turn of the century.
Nurnberger fell in love with this illustration (left) of the Princess illustrated by Carl Offterdinger (19th C.)
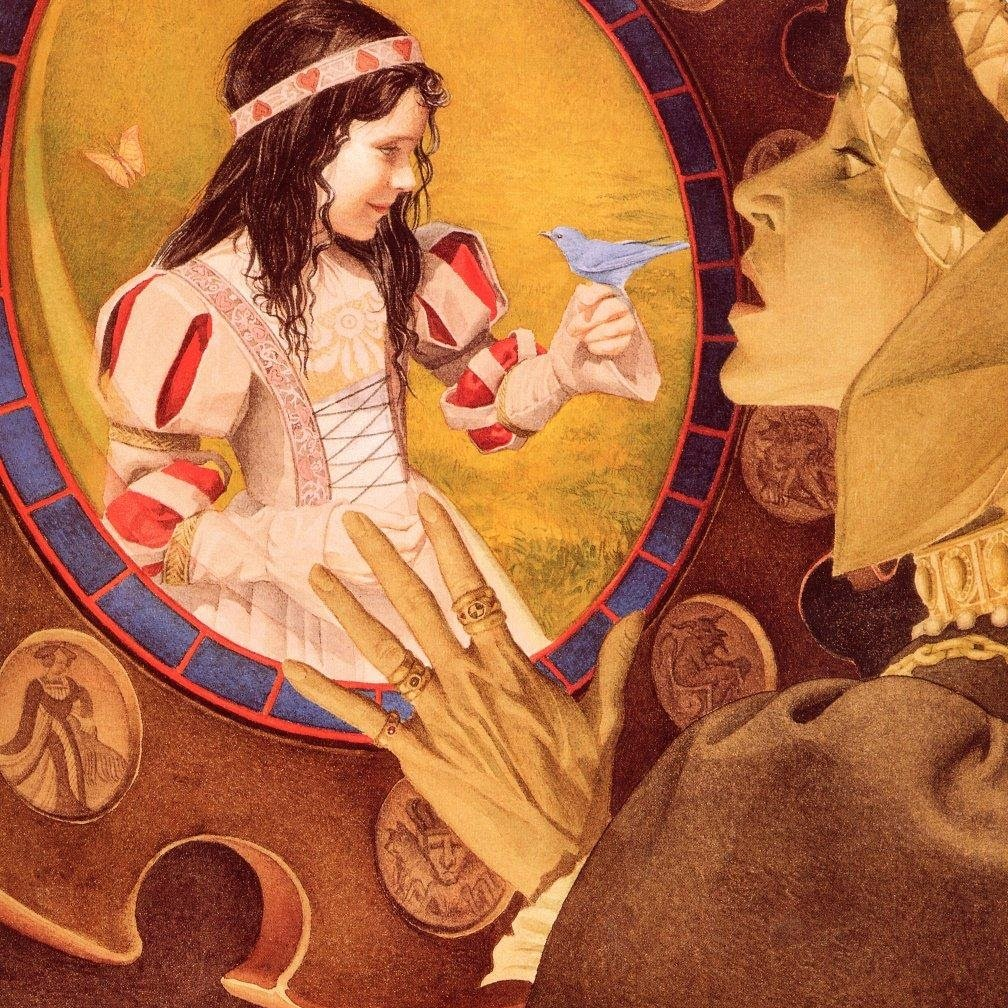
Dattellas liked this illustration by Charles Santore (pictured right).


The Rendering
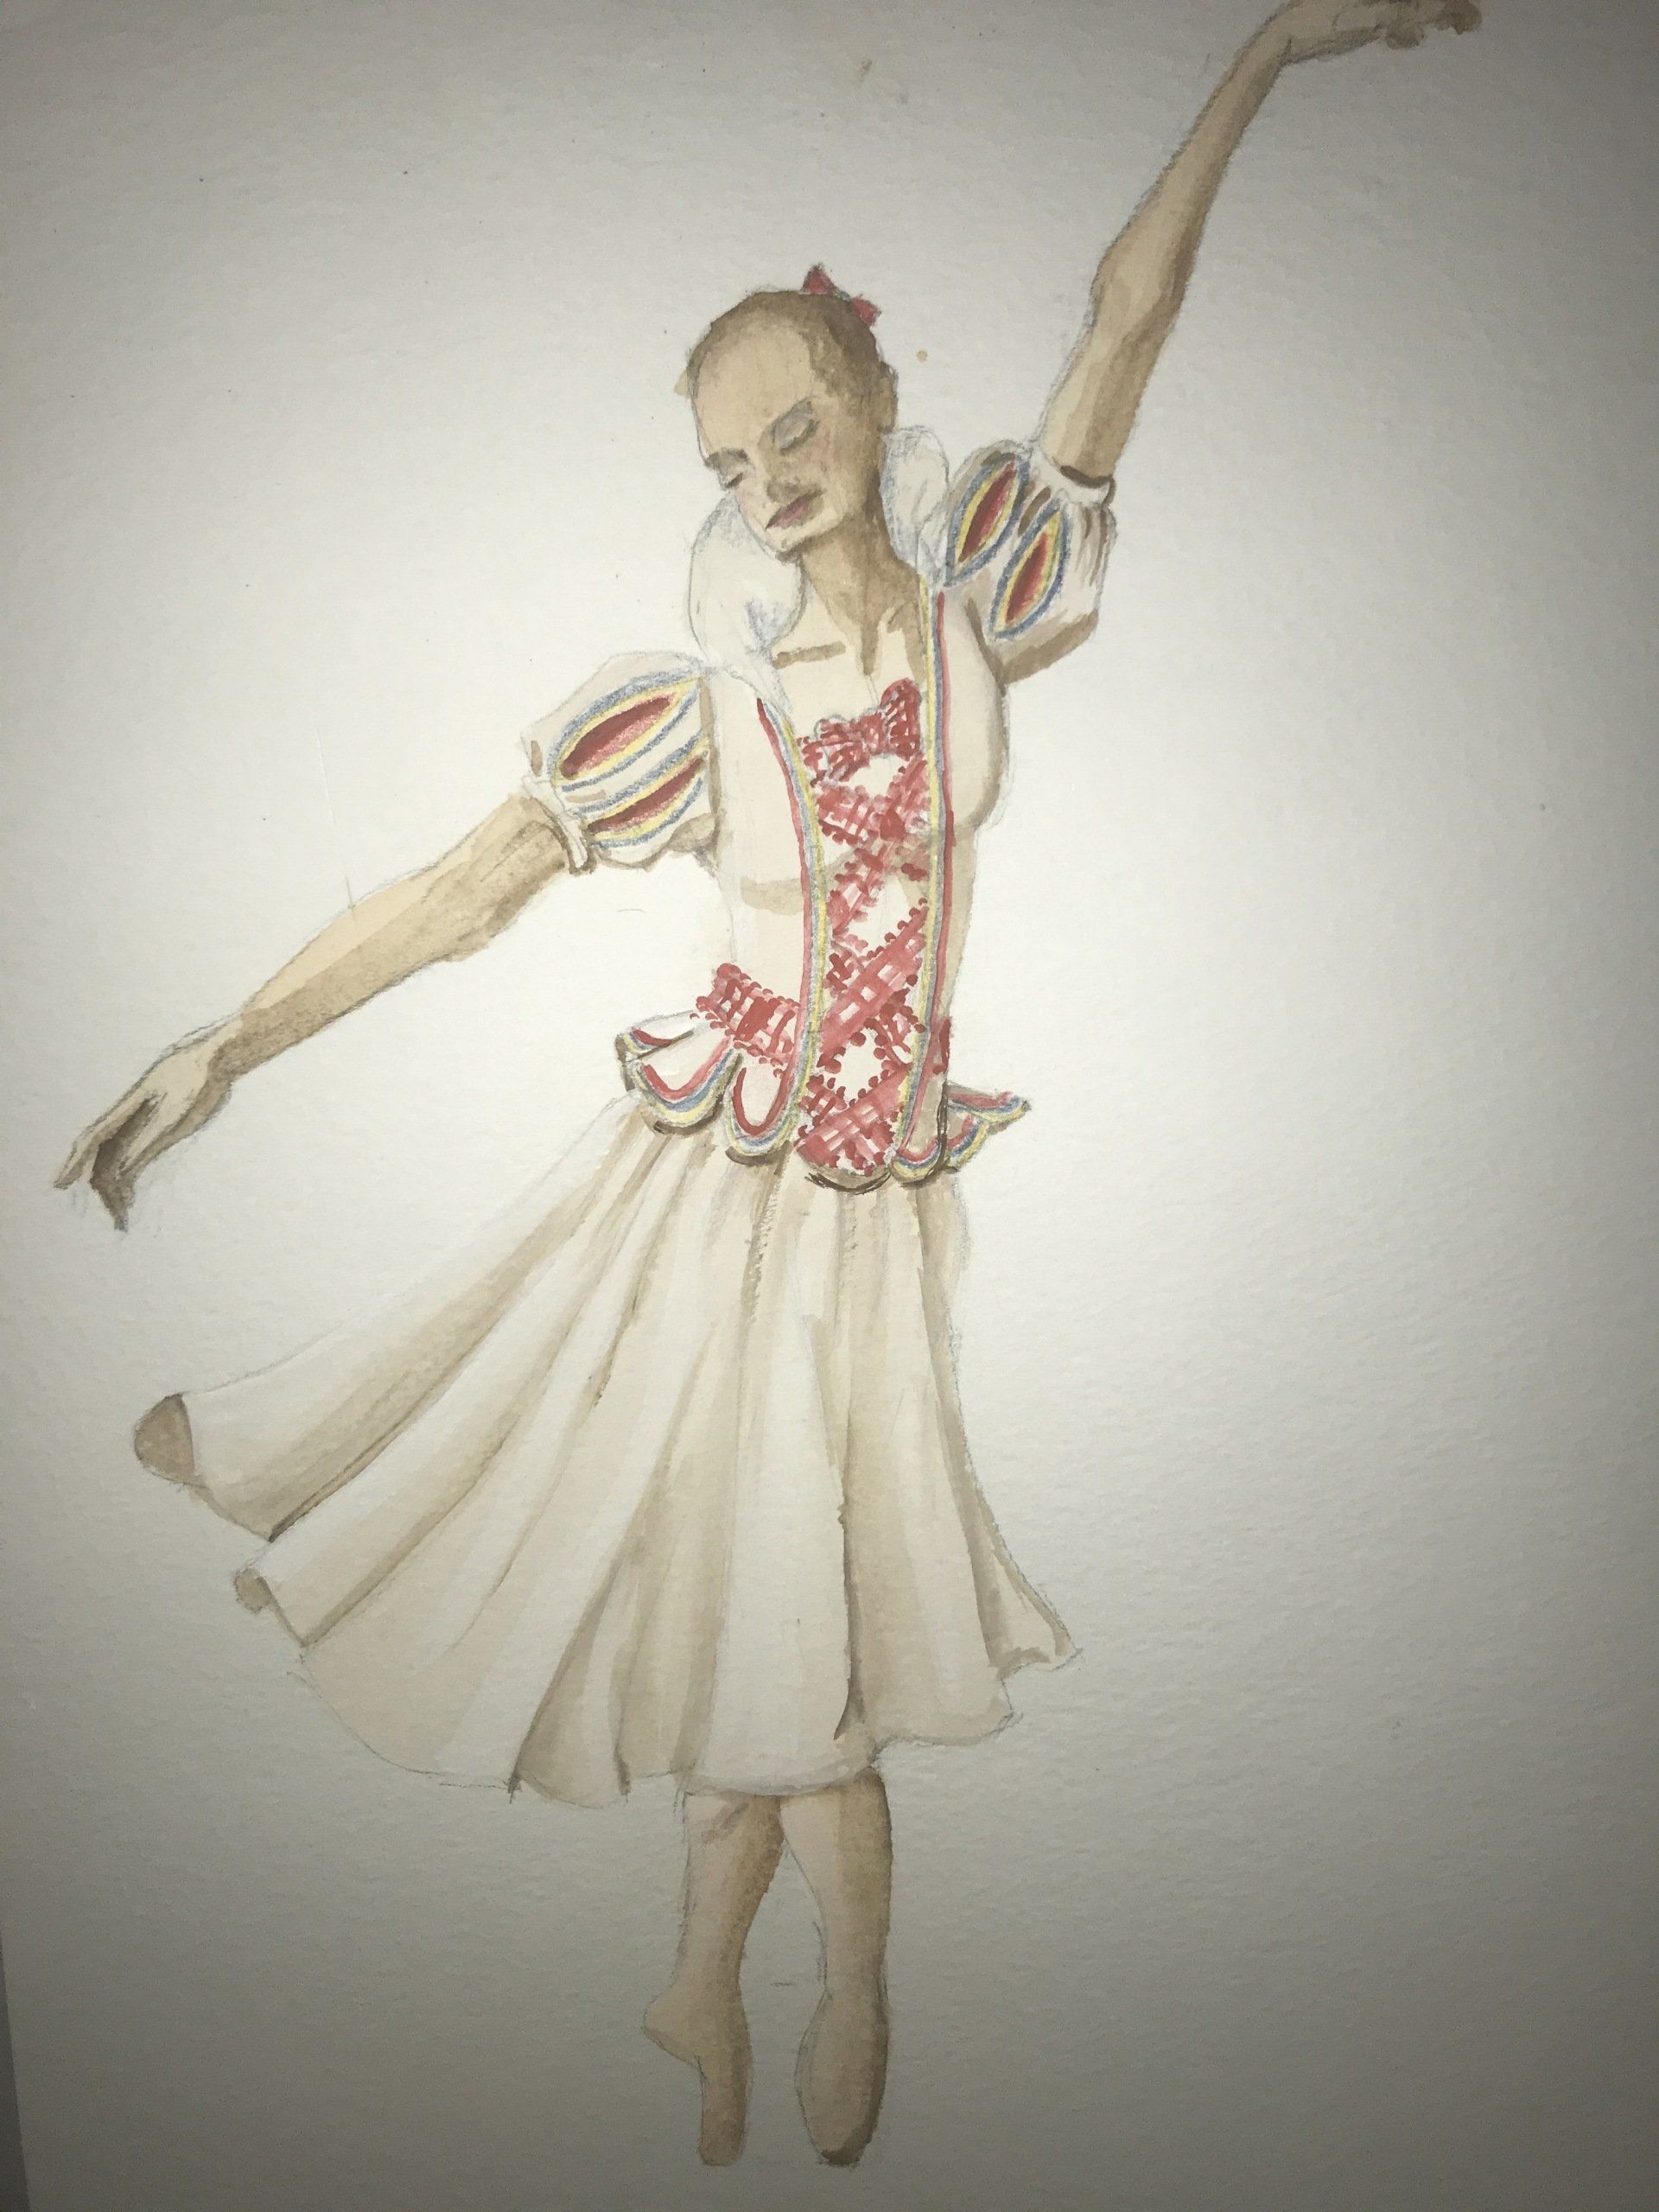
From these findings and discussions, Nurnberger was inspired to create the costume in a late Medieval, early-Tudor era style. She extrapolated the designs in the illustrations to create her own design.
Nurnberger noticed that many of the illustrations portray Snow White dressed in white with primary colors (red, yellow and blue), especially red. She decided to include all three into her design. Pictured left is a rendering of her costume design.
The Process: Double Piping and Bodice
Step 1:
Pat began to create the costume by cutting, folding, and ironing fabric pieces to create double piping. Double piping acts like a decorative hem commonly found on dresses and skirts.
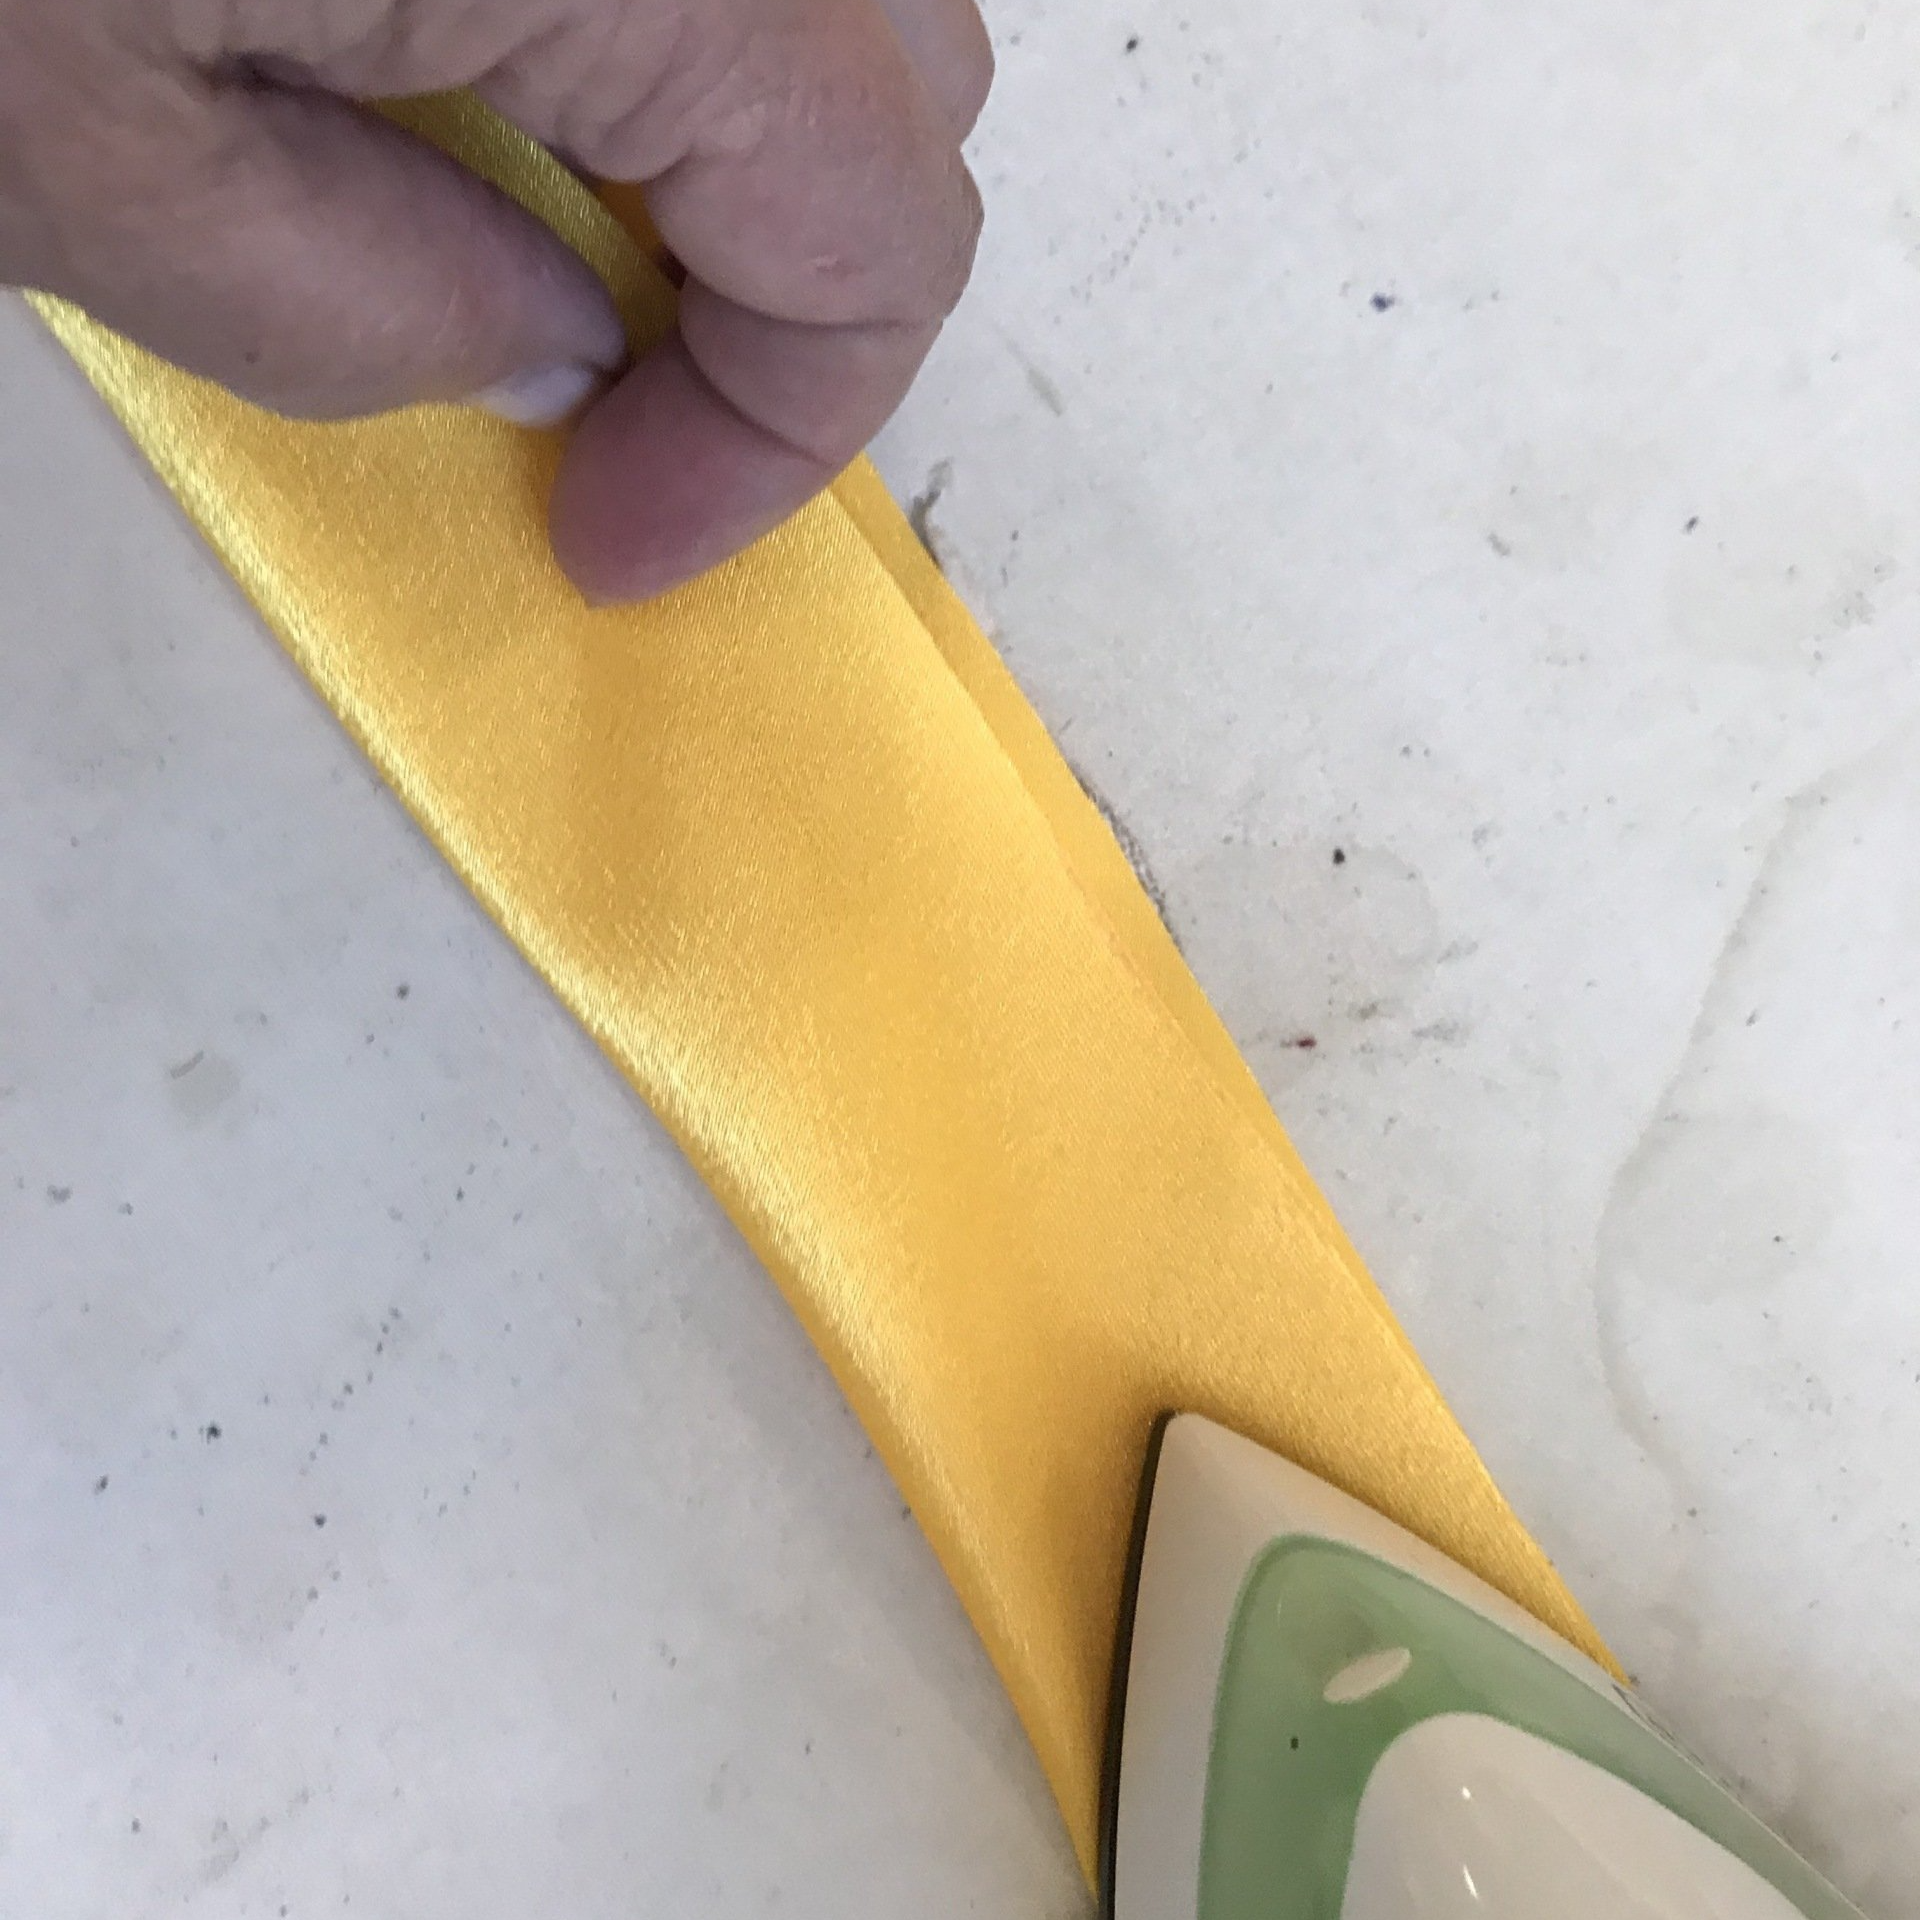
Step 2:
In order to make the double piping, Pat took two pieces of yellow and blue fabric that had gone through the step 1 process, and sewed them together.

Step 3:
Next, Pat began to create the bodice, or the part of the costume that wraps around the dancer's torso.
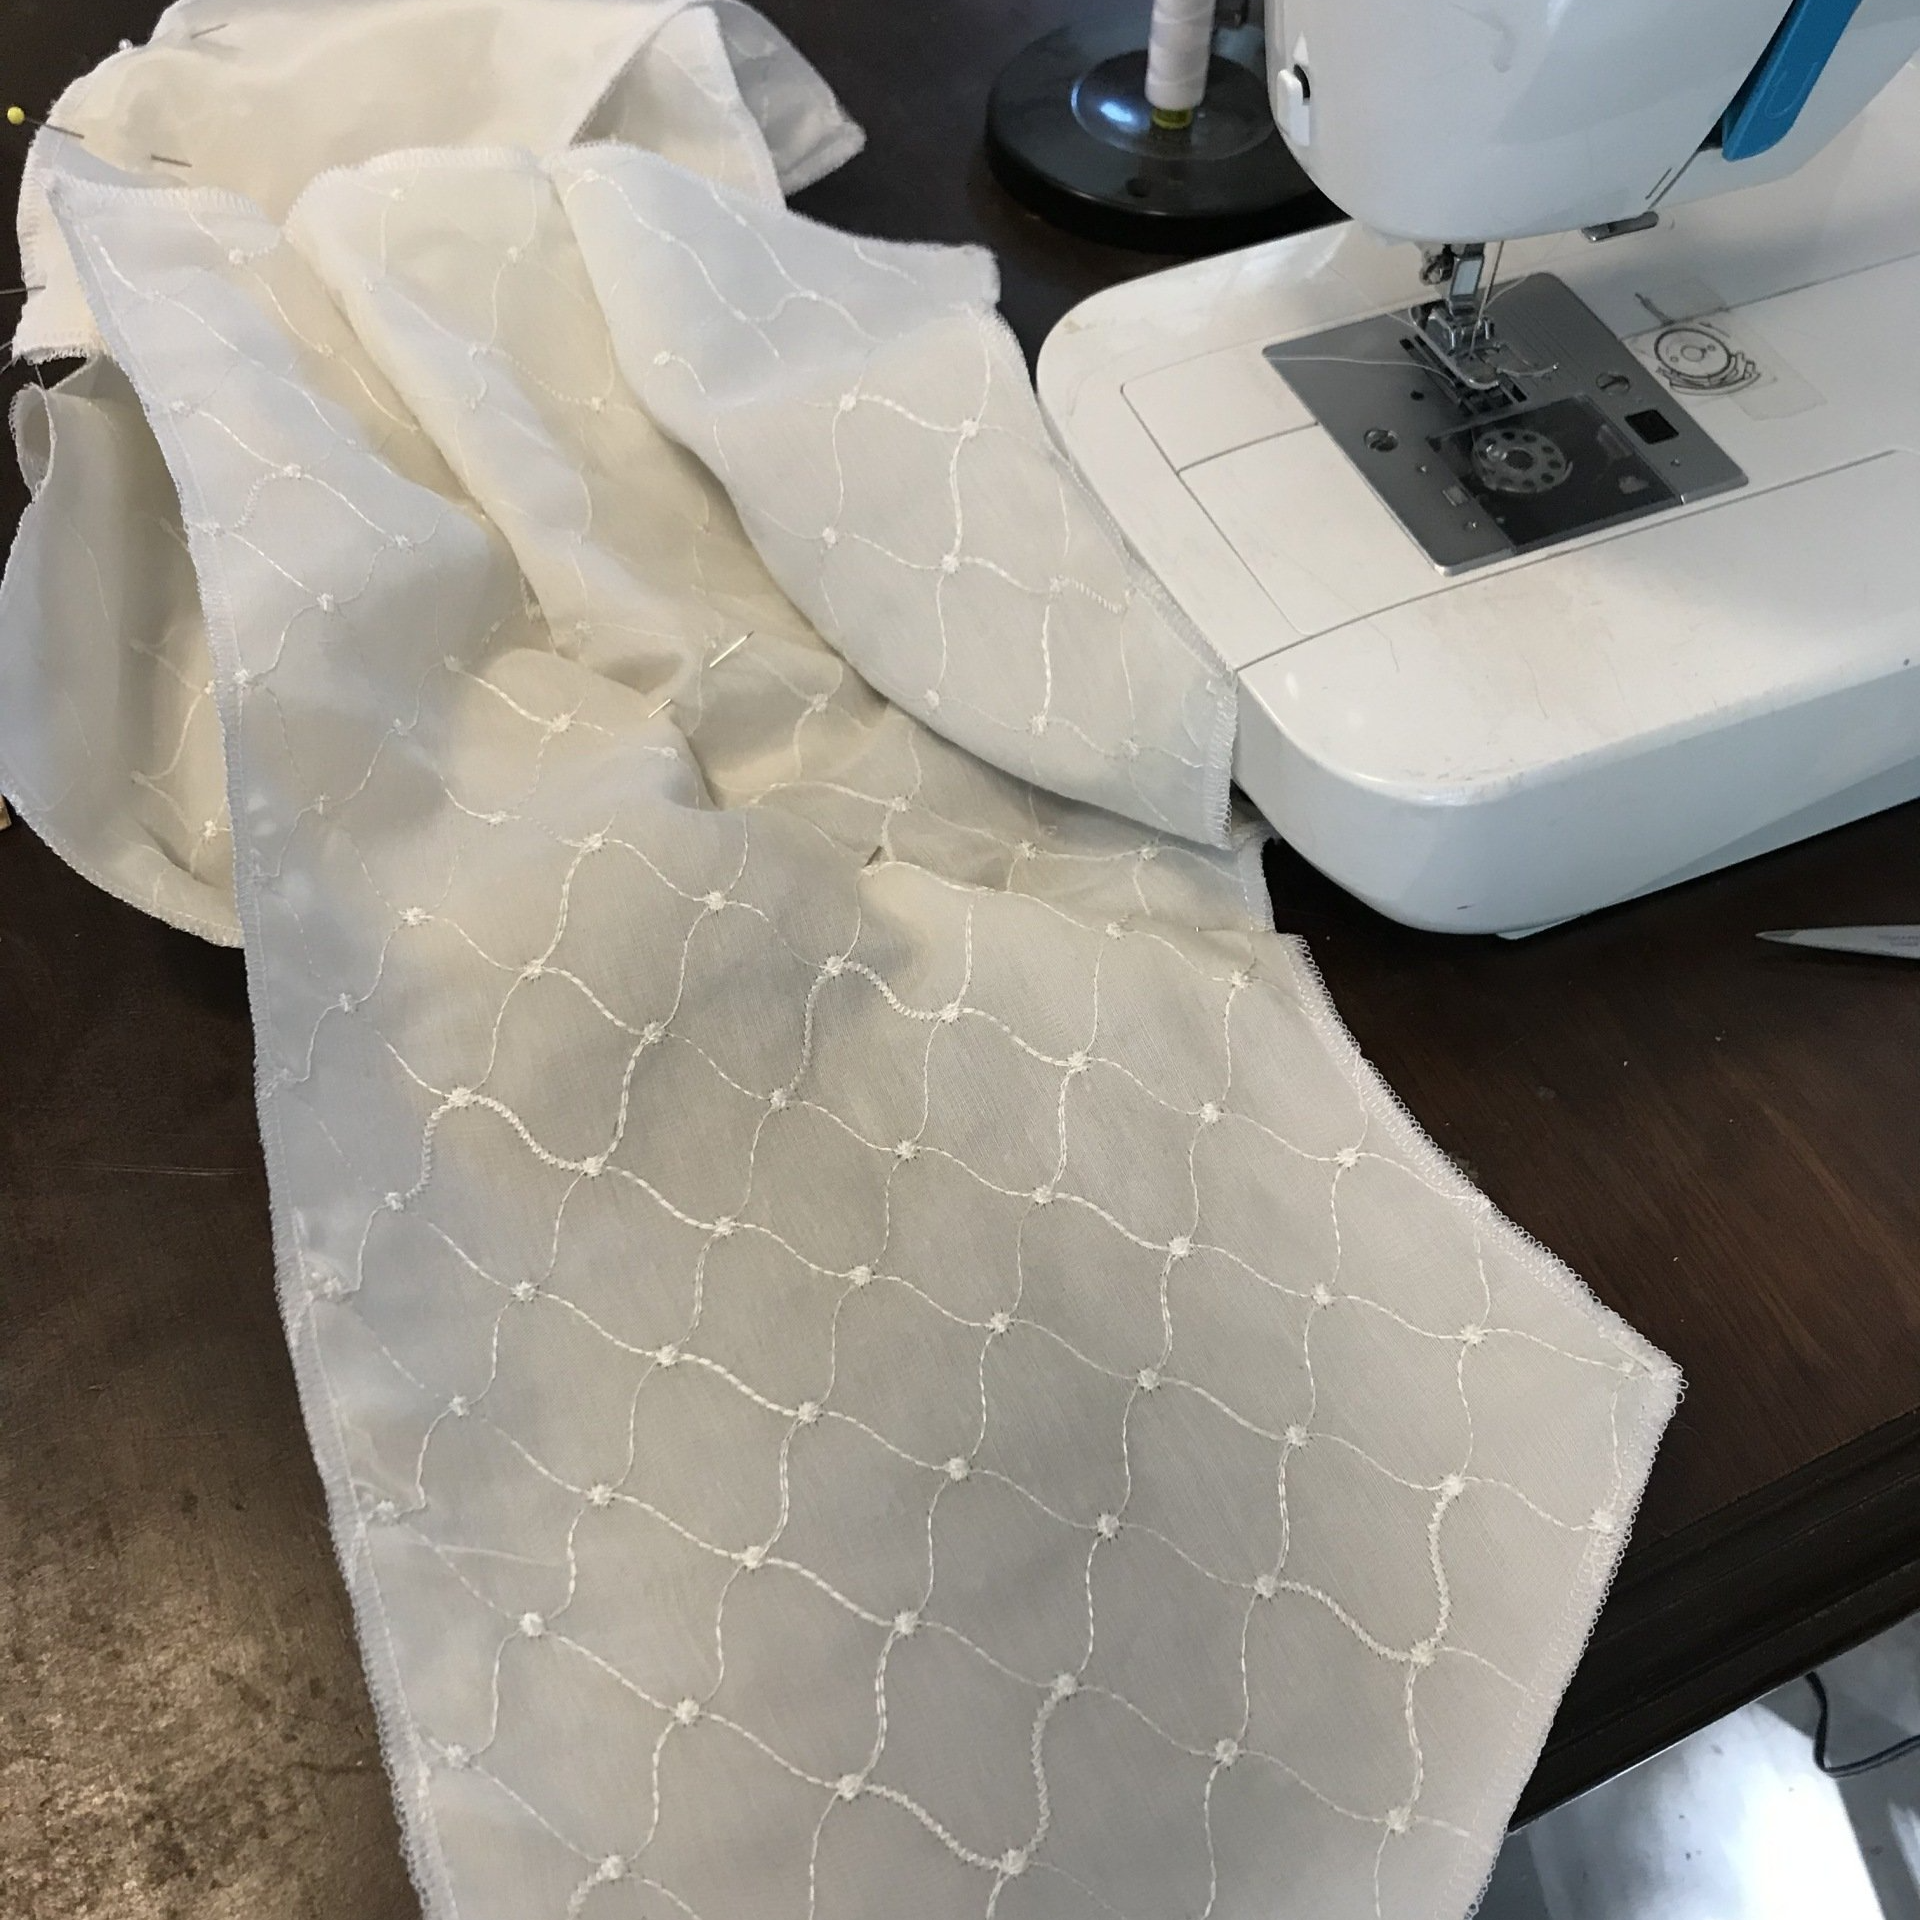
Step 4:
In order to give performance costumes body, strength, and durability, the bodices are flatlined, or lined with a thick material on the inside. Pat flatlined the costume using a pink print.
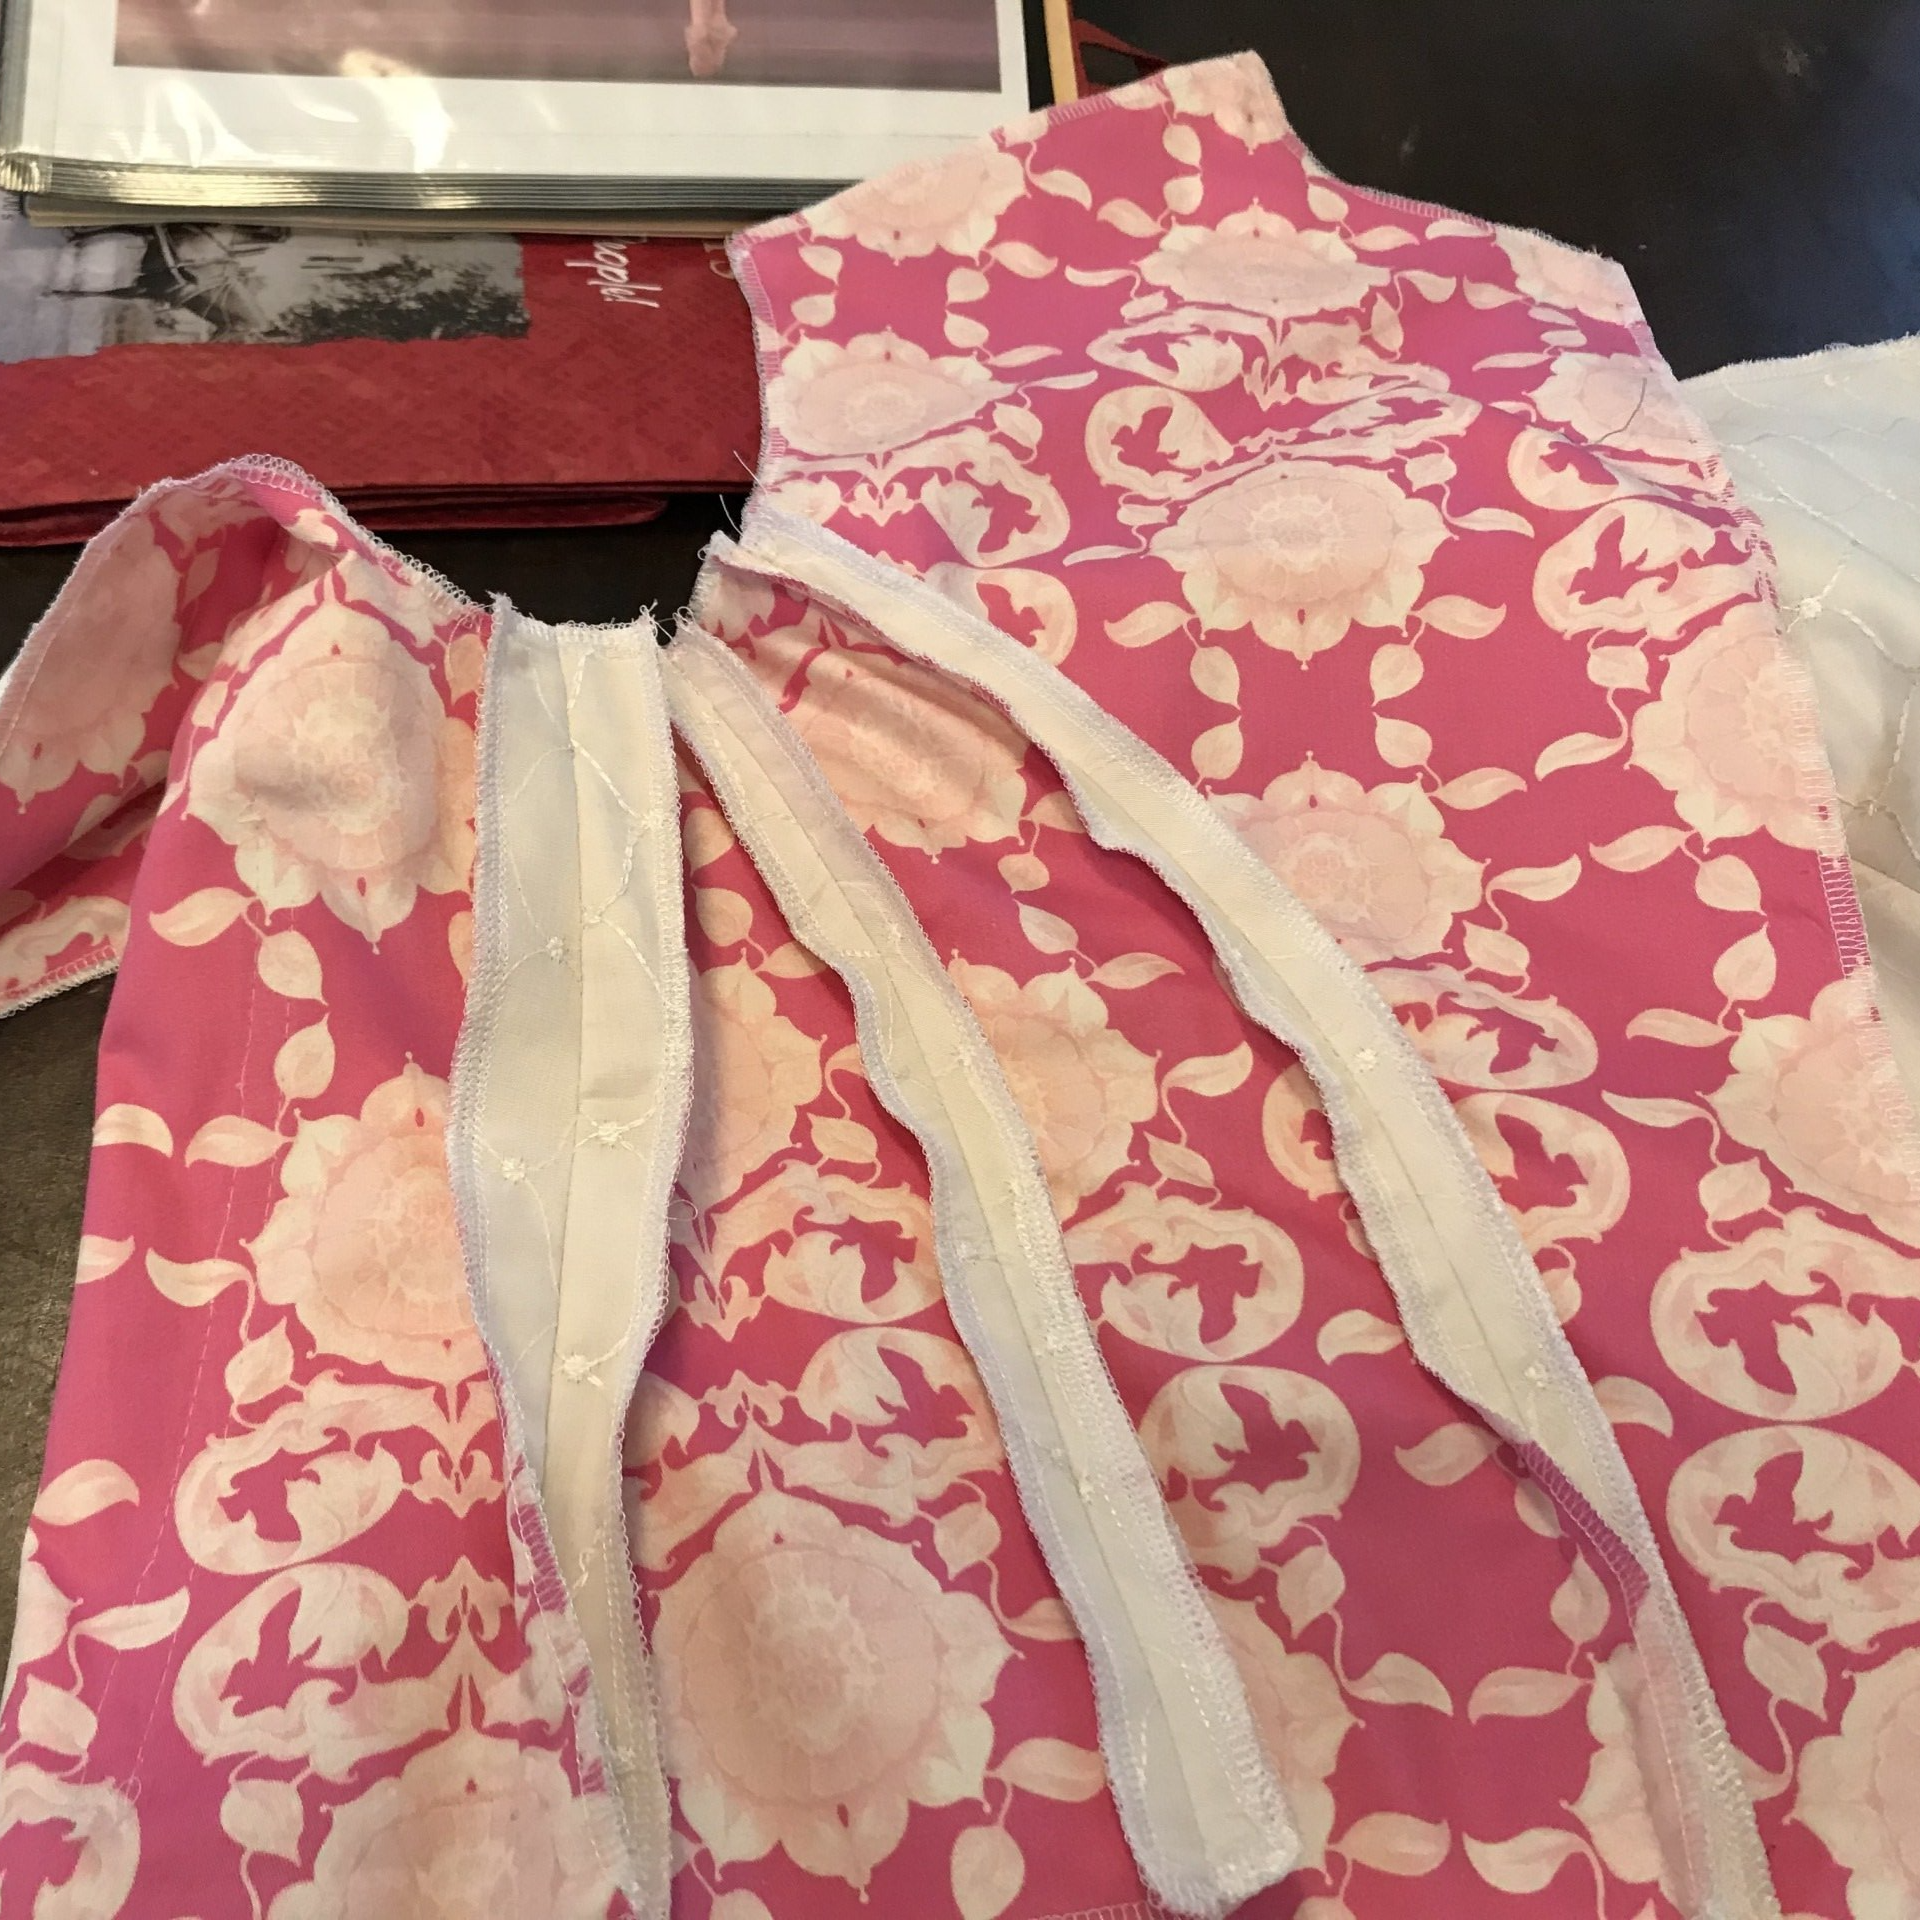
Step 5:
The double piping pieces made in steps 1 & 2 were added to the edges of the bodice. The yellow fabric was cut 2X thicker than the blue fabric so that it could be seen on the outermost edge.

The Process: Bodice Tabs
Pat's design included tabs along the bottom of the bodice near where the dancer's hips will be. The following photos show the process of creating these special additions:
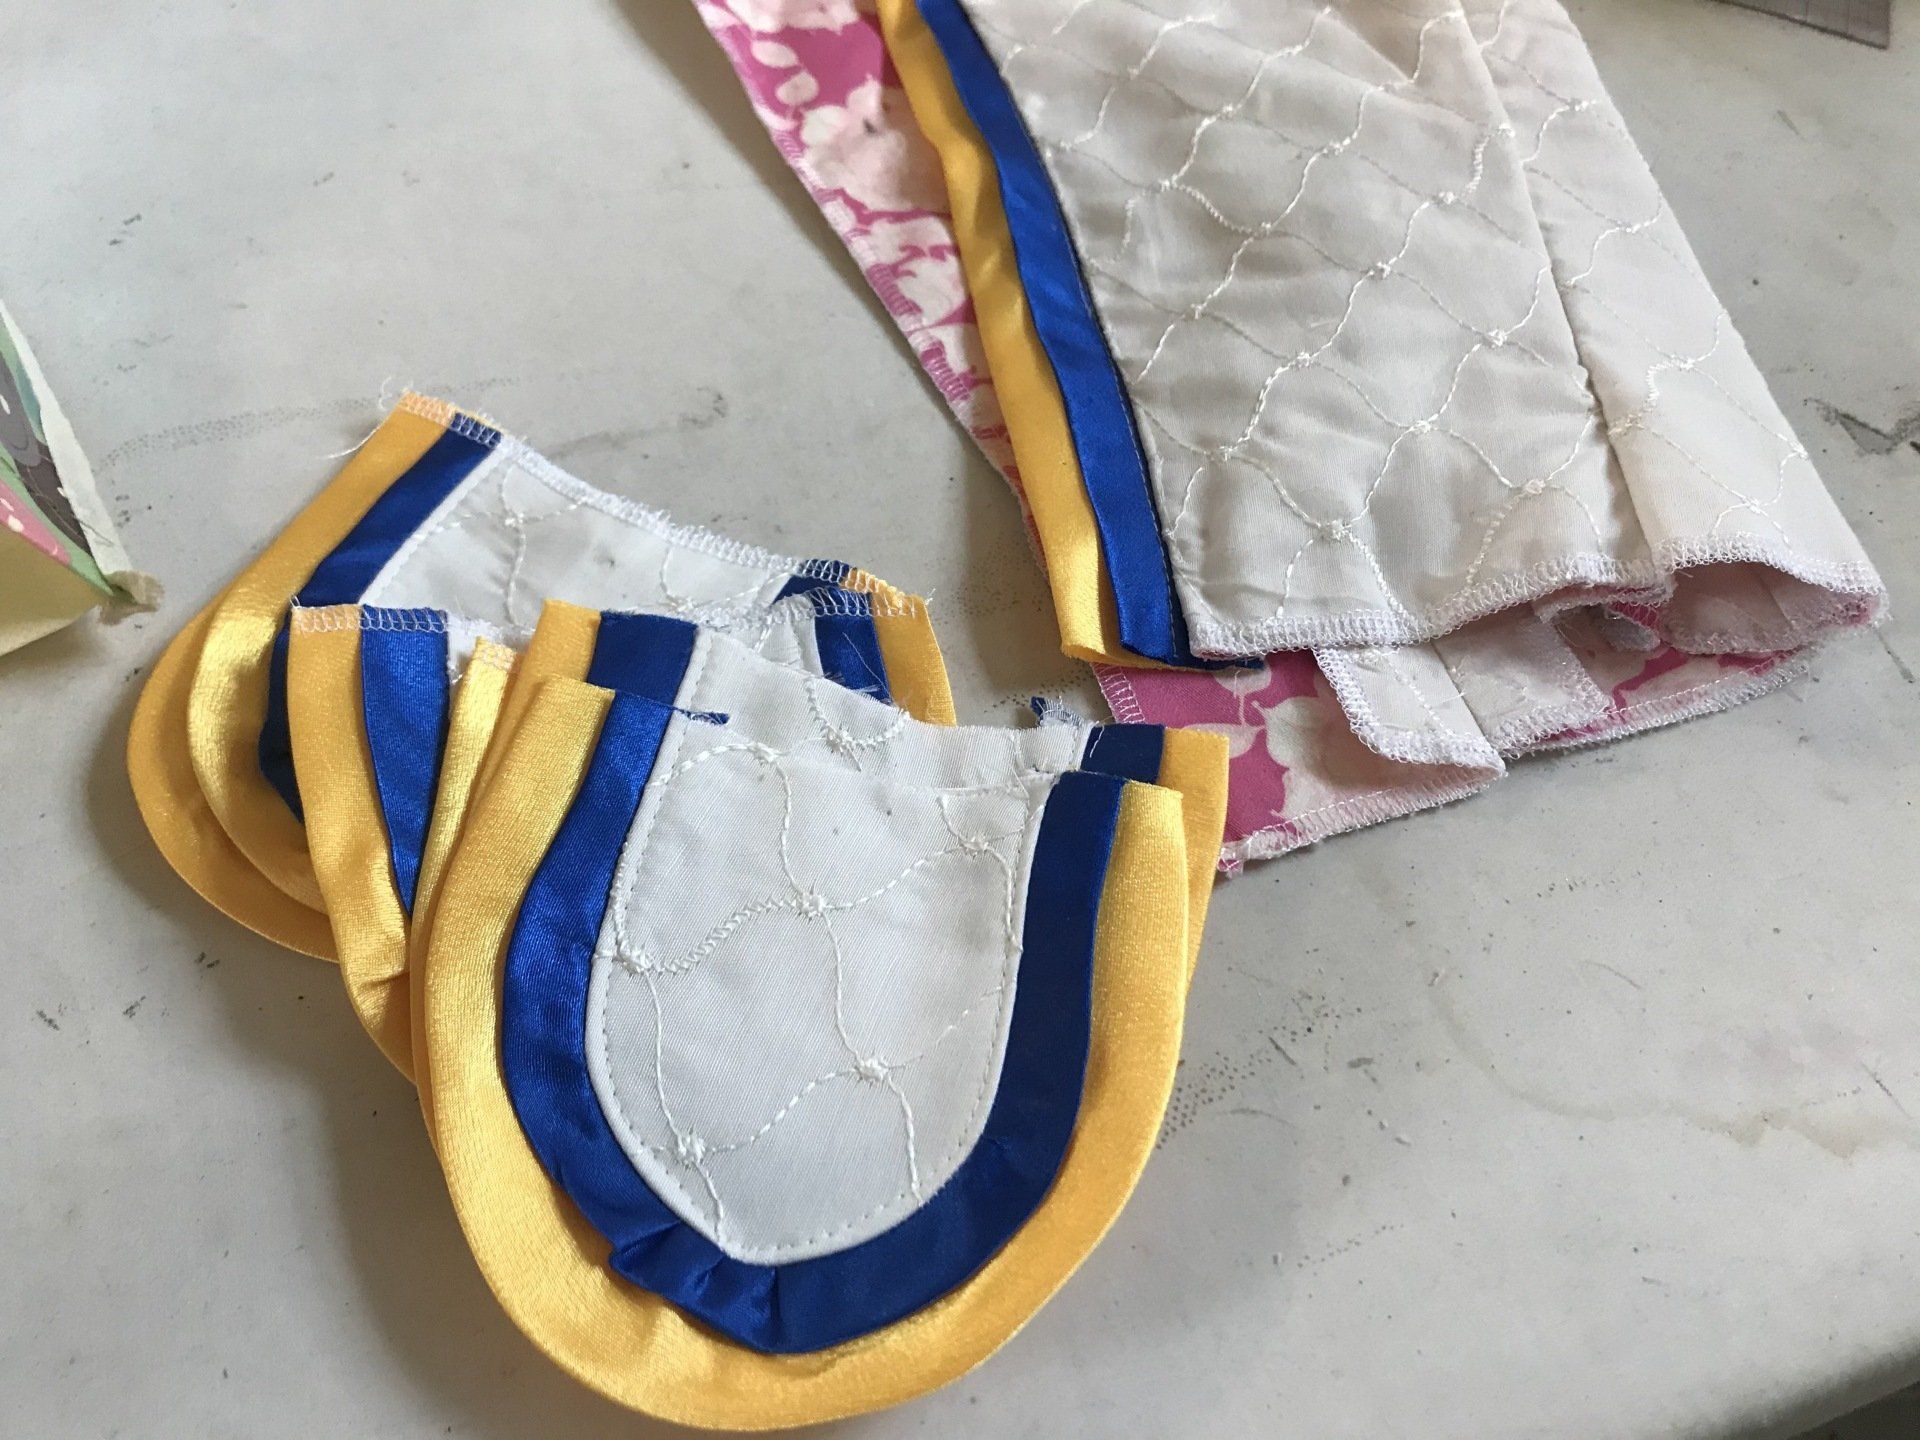
Step 6:
Cutting and sewing the double piping to the tabs.

Step 7:
Pressing the tabs flat.

The Process: Finishing the Bodice

Step 8:
The stomacher, or the front of the bodice that covers the dancer's front portion of the torso, was designed with red ribbon appliques.

Step 9:
The stomacher and bodice were pinned and then sewn together.

Step 10:
The tabs from steps 6 & 7 were pinned and sewed onto the bottom of the bodice.

Step 11:
In order to secure the bodice to the dancer, a zipper was added to the back.

Step 12:
Lastly, sleeves designed for the character's look were added to the bodice.

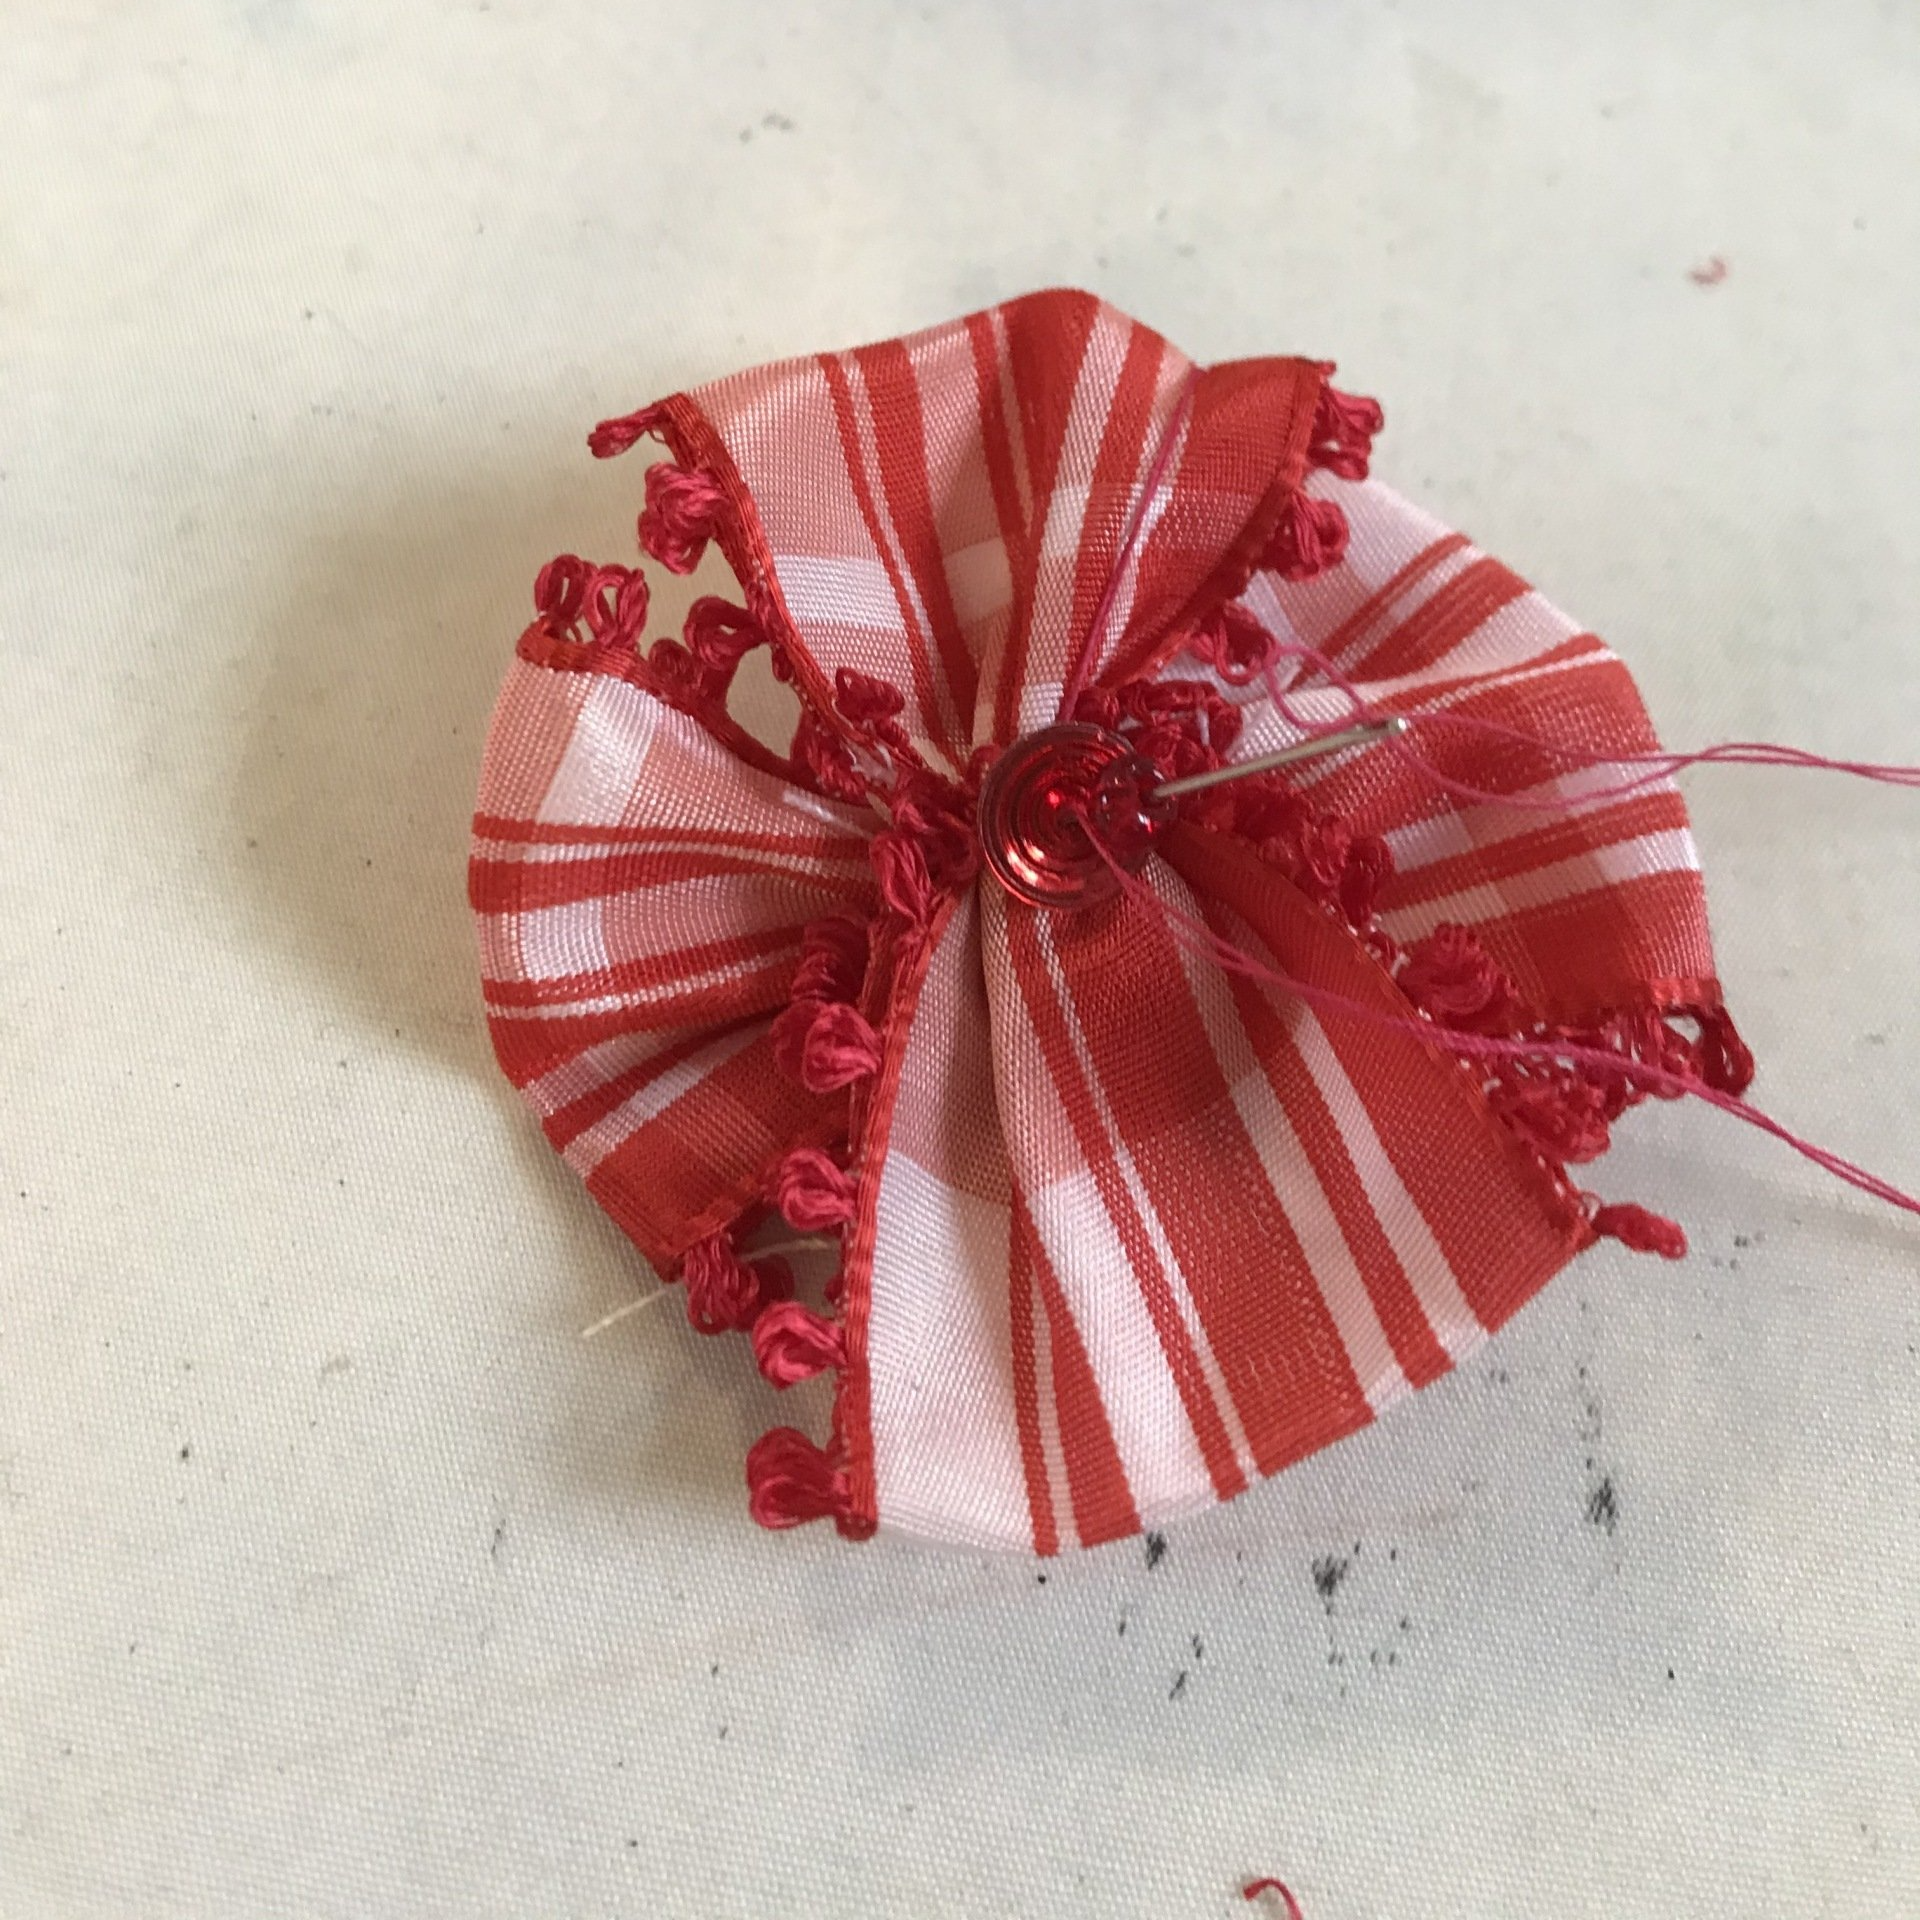
The Process: Creating Rosettes
Step 13:
Some more embellishments were created for the front of the bodice including rosettes made from the same ribbon used on the stomacher.

Step 14:
The rosettes were cut and sewn and then added to the front of the bodice.
The Process: The Skirt & Collar
Step 15:
A petticoat and overlay skirt were created separately. The overlay includes two full circles of fabric to give the skirt more volume, which will be even more apparent when moving with the dancer.

Step 16:
For added regality and dramatic effect, a removable collar was added to the neck of the bodice.

Learn more about BTC's touring Through the Tulle costume exhibition and its talented group of costume designers >>> HERE!

we-ha.com
BTC TO HOLD FIRST PERFORMANCE OF ITS 25TH ANNIVERSARY SEASON
This intimate, mixed-repertoire performance, Up Close: Fall, will be presented at BTC’s Ron and Nancy Compton Studio located at 20 Jefferson Ave...
we-ha.com
BALLET THEATRE COMPANY HOLDING SEASON OPENER PARTY AT WAREHOUSE 635 IN WEST HARTFORD
On Sept. 16, from 6 to 9 p.m. at Warehouse 635 in West Hartford, join Ballet Theatre Company (BTC) and celebrate 25 years of professional ballet in Greater Hartford...
we-ha.com
BALLET THEATRE COMPANY OFFERING TICKETS TO 25TH ANNIVERSARY SEASON PERFORMANCES
Ballet Theatre Company (BTC), the state’s largest professional ballet company, calls West Hartford home. Ballet Theatre Company is Connecticut’s ballet, and it’s your ballet...
we-ha.com
CELEBRATING 25 YEARS OF BALLET THEATRE COMPANY
In 1999, Ballet Theatre Company (BTC) was a small ballet company putting on one spring performance per year. Within 25 years, it has grown exponentially to become Connecticut’s leading ballet organization...